Configuring Navigate
This page is the fastest path to a first working microscope configuration in navigate.
The configuration.yaml file defines the hardware and microscope settings
loaded at startup. By default, the local file is saved at:
Windows:
C:\Users\Username\AppData\Local\.navigate\config\configuration.yamlmacOS/Linux:
~/.navigate/config/configuration.yaml
Warning
The configuration file is sensitive. A reliable strategy is to build a working setup using only virtual devices first, then replace devices with real hardware one at a time.
Tip
If you cannot locate configuration.yaml, launch with synthetic
hardware (navigate -sh), then select
.
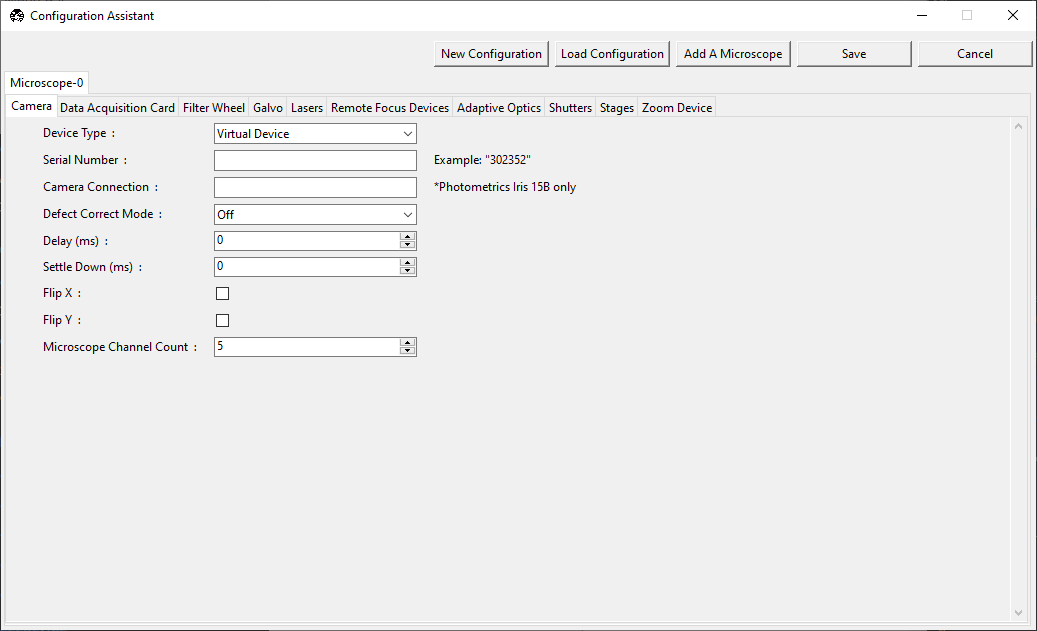
Configuration Wizard
Activate the environment used for installation.
Launch the configurator:
navigate -c
Choose New Configuration to create a new file, or Load Configuration to edit an existing file.
If needed, click Add A Microscope to create additional microscope entries.
In each hardware tab, the first column shows configuration entries (most are likely required), the middle column is where you enter values, and the right column contains field help text.
Fill required hardware fields (DAQ, camera, stage, lasers, filter wheel, etc.), validating one device at a time.
Save as
configuration.yamlin your local.navigate/configdirectory, then launch:
navigate
Need More Control?
Manual editing supports advanced use cases such as:
multiple microscopes and inheritance,
stage axis mapping and flip behavior,
stage limits and offsets,
zoom calibration and stage-compensation tables.
For full details, see Advanced Software Configuration.