Plugin Architecture
navigate is designed for extensibility. You can use plugins to add GUI elements, hardware devices, feature objects, feature lists, and custom acquisition modes.
Introduction to Plugins
The plugin system allows users to extend navigate without modifying the core codebase. Installed plugins are discovered automatically at startup.
Installing a Plugin
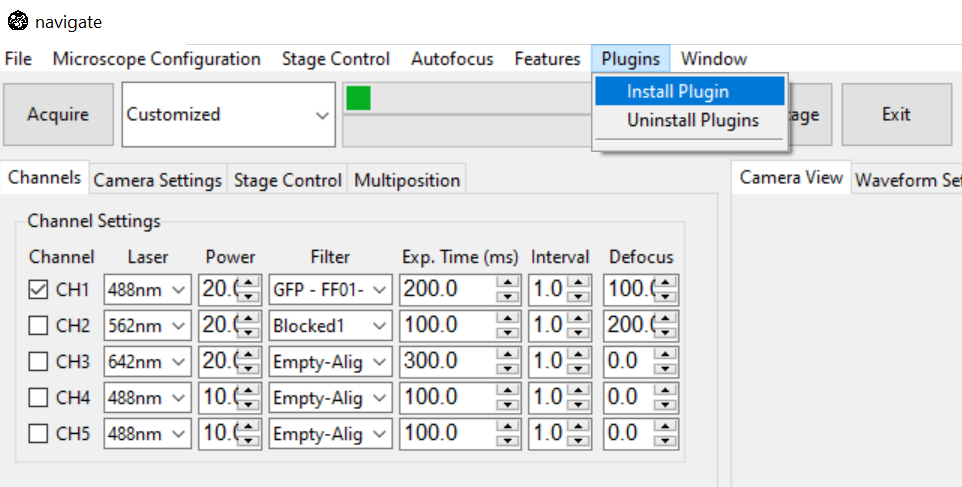
After you build or download a plugin, you can install it from the GUI. In this example, we use the navigate-confocal-projection plugin.
Open .
Select the plugin folder (for example,
ConfocalProjectionPlugin) and click Select.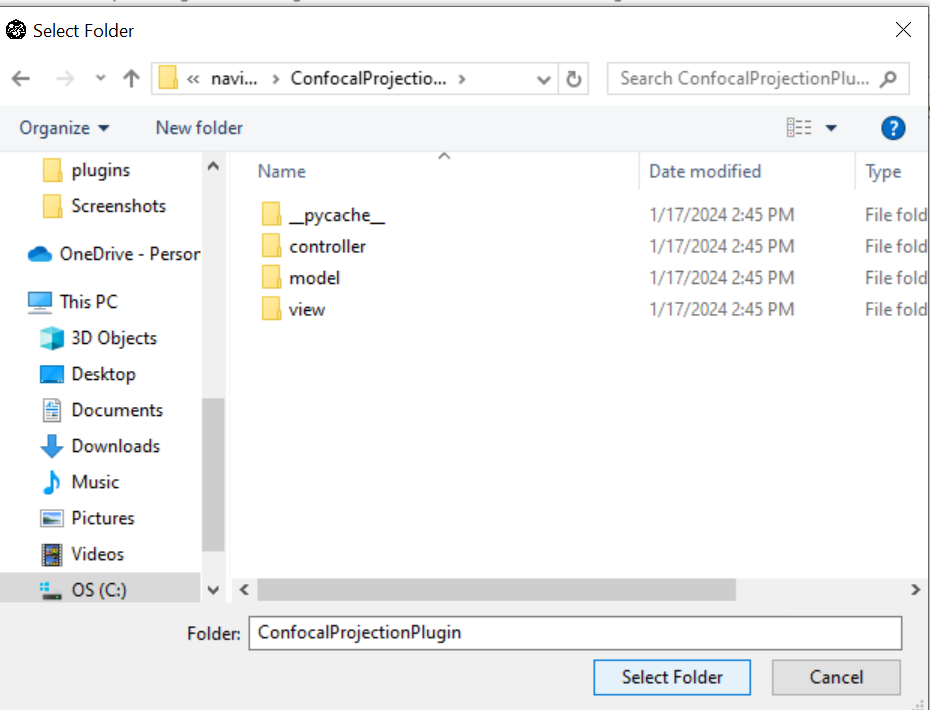
Confirm the success message.
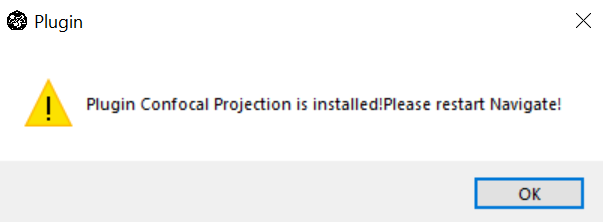
Restart navigate to load the plugin.
Uninstalling a Plugin
Open .
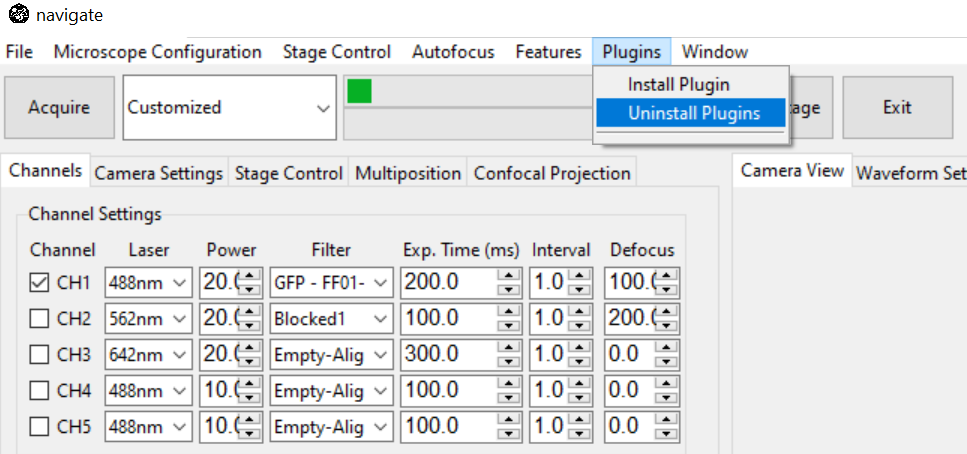
Select the plugin to remove.

Click Uninstall.

Restart navigate to complete removal.
Designing a Plugin
Using the Plugin Template
Use the official navigate-plugin-template as a starting point.
Plugin structure:
plugin_name/
    ├── controller/
    │   ├── plugin_name_controller.py
    │   ├── ...
    ├── model/
    │   ├── devices/
    │   │   └── plugin_device/
    │   │       ├── device_startup_functions.py
    │   │       ├── plugin_device.py
    │   │       └── synthetic_plugin_device.py
    │   └── features/
    │       ├── plugin_feature.py
    │       ├── ...
    ├── view/
    │   ├── plugin_name_frame.py
    │   ├── ...
    ├── feature_list.py
    ├── plugin_acquisition_mode.py
    └── plugin_config.yml
Note
The template includes optional components (GUI, devices, features, feature lists, and acquisition modes). Remove any folders or files you do not use.
Plugin Configuration
Each plugin should include a plugin_config.yml file in the plugin root. It defines plugin metadata, view type, and optional acquisition modes.
Example:
name: Plugin Name
view: Popup # or Tab
acquisition_modes:
  - name: Plugin Acquisition
    file_name: plugin_acquisition_mode.py
Plugin GUI Elements
Plugins can contribute GUI elements as either tabs or popups. Set the desired view in plugin_config.yml.
If
view: Popupis used, the plugin appears under the Plugins menu.If
view: Tabis used, the plugin appears beside the Settings Notebooks.
Use consistent lowercase filenames for GUI/controller modules. For example, if the plugin name is My Plugin, use my_plugin_frame.py and my_plugin_controller.py.
Plugin Devices
Plugins can define one or more hardware device types. For each device type, create a dedicated folder and provide device_startup_functions.py to define connection and startup behavior.
Device type names and reference keys are declared as:
DEVICE_TYPE_NAME = "plugin_device"  # For example: "stage", "filter_wheel"
DEVICE_REF_LIST = ["type", "serial_number"]
Implement a connection loader:
def load_device(hardware_configuration, is_synthetic=False):
    # ...
    return device_connection
Implement device startup:
def start_device(microscope_name, device_connection, configuration, is_synthetic=False):
    # ...
    return device_object
See the template implementation in device_startup_functions.py.
Plugin Features
Plugins can contribute new feature objects and feature lists. These are discovered and loaded automatically at startup.
For implementation details, see Feature Container.
Custom Acquisition Modes
Plugins can register custom acquisition modes.
Start from the template plugin_acquisition_mode.py.
Update
feature_list.
@AcquisitionMode
class PluginAcquisitionMode:
    def __init__(self, name):
        self.acquisition_mode = name

        self.feature_list = [
            # update here
        ]
Implement controller/model lifecycle hooks as needed:
def prepare_acquisition_controller(self, controller):
    # update here

def end_acquisition_controller(self, controller):
    # update here

def prepare_acquisition_model(self, model):
    # update here

def end_acquisition_model(self, model):
    # update here
Register the mode in
plugin_config.yml:
acquisition_modes:
    - name: Custom Acquisition
      file_name: plugin_acquisition_mode.py
For additional real-world examples, see the plugin repositories linked in the main documentation navigation.