Analyzing Images via REST-API
navigate has the ability to communicate with other image analysis software through REST-API interfaces. In general, the REST-API is used to communicate with software that has different or conflicting dependencies with the navigate codebase. Data is transferred via HTTP requests and responses, which is faster and more efficient than locally saving the data and then loading it into another piece of software, but slower than direct access of the data in memory.
Here is an example using ilastik to segment images and mark positions for higher resolution in a multiscale microscope. ilastik is a powerful image analysis software that enables users to train a support vector machine learning classifier to segment images using a combination of intensity, texture, and shape features. More information about ilastik can be found here.
Set REST-API configuration
Specify url address of the ilastik server in the configuration file (.navigate/config/rest_api_config.yml). If the ilastik server runs on the same machine as navigate, set the configuration as follow:
ilastik:
url: 'http://127.0.0.1:5000/ilastik'
If the ilastik server runs on a different machine, set the configuration as follow:
ilastik:
url: 'http://remote-url:5000/ilastik'
Note
As shown here, the default port is 5000. If another port is used, provide it here.
Note
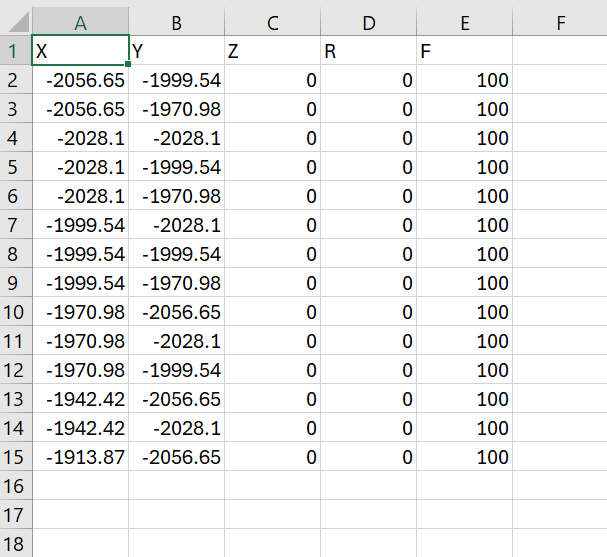
Interface illustrations use example settings in the current night theme. The segmentation image and CSV coordinates are preserved from the original case study. They are illustrative results, not newly acquired data.
Load and set ilastik project
Select and click menu .
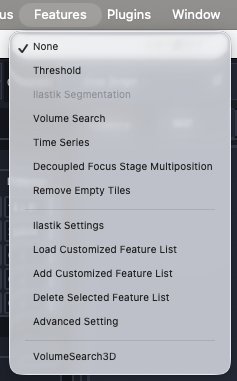
Load one ilastik segmentation project file from the pop-up window.
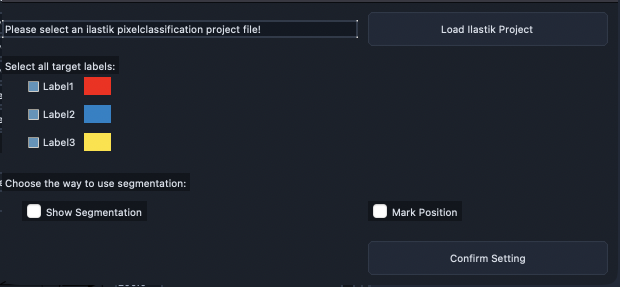
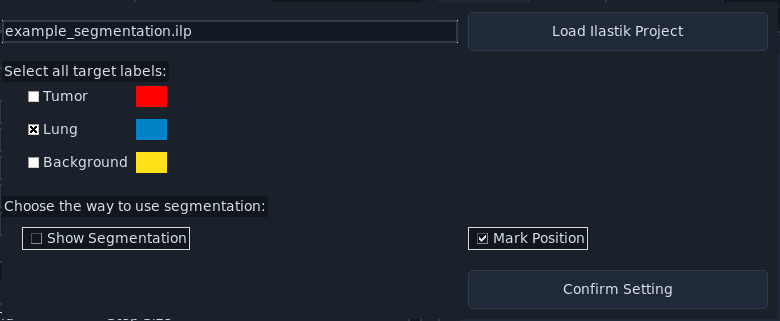
Select target labels and the way to use the segmentation (display or mark positions), then click Confirm.
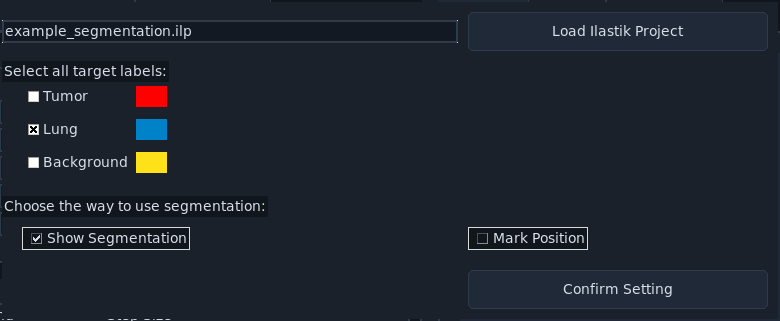
Use ilastik feature
Choose Customized acquisition mode, and select the menu .
Click Acquire to run acquisition. If you choose to show segmentation only, click Confirm in the popup window directly.
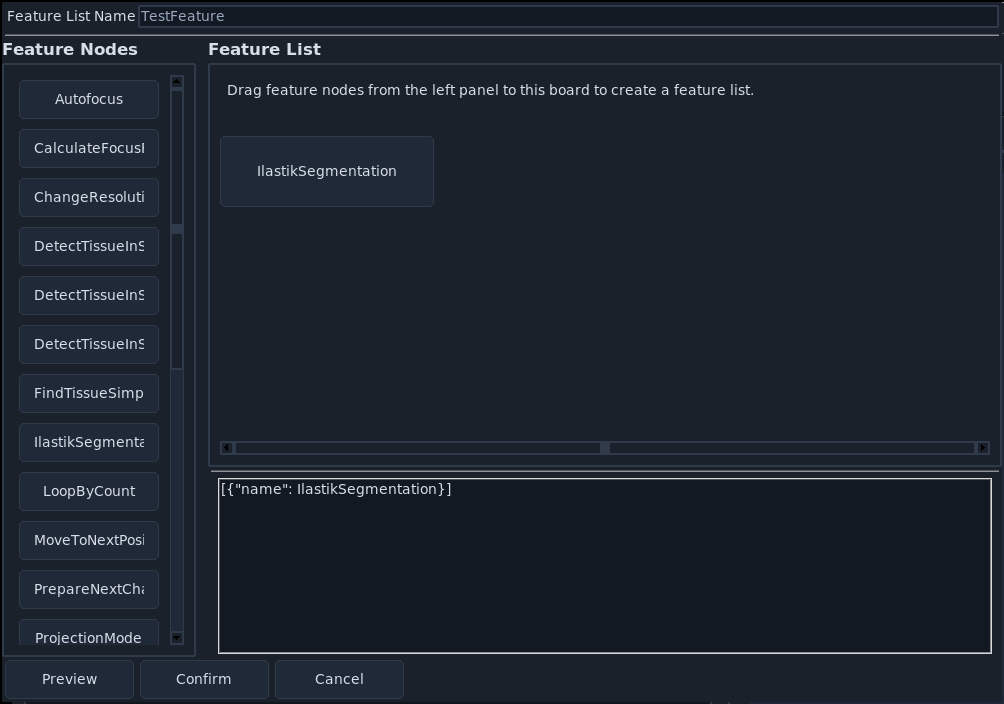
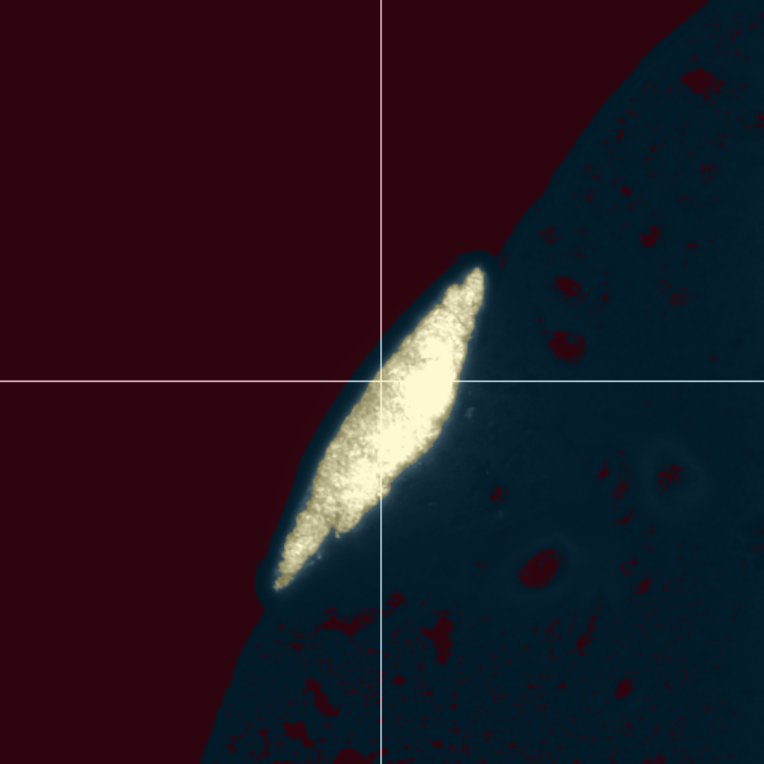
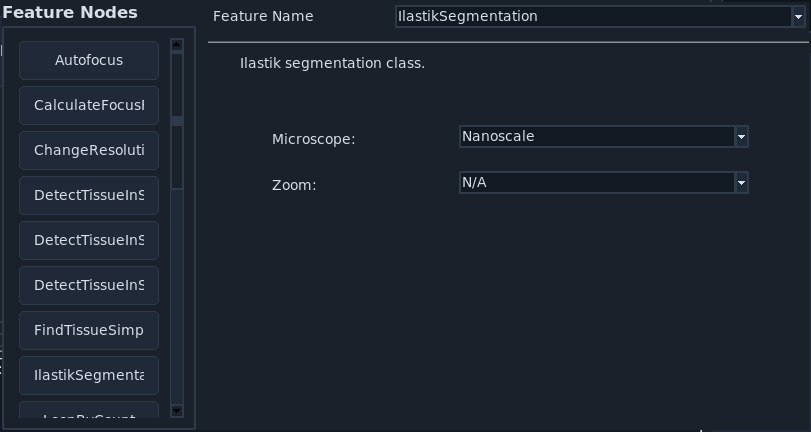
If you choose to Mark Position, please click ilastik in the pop-up window and set the target microscope name and zoom value.
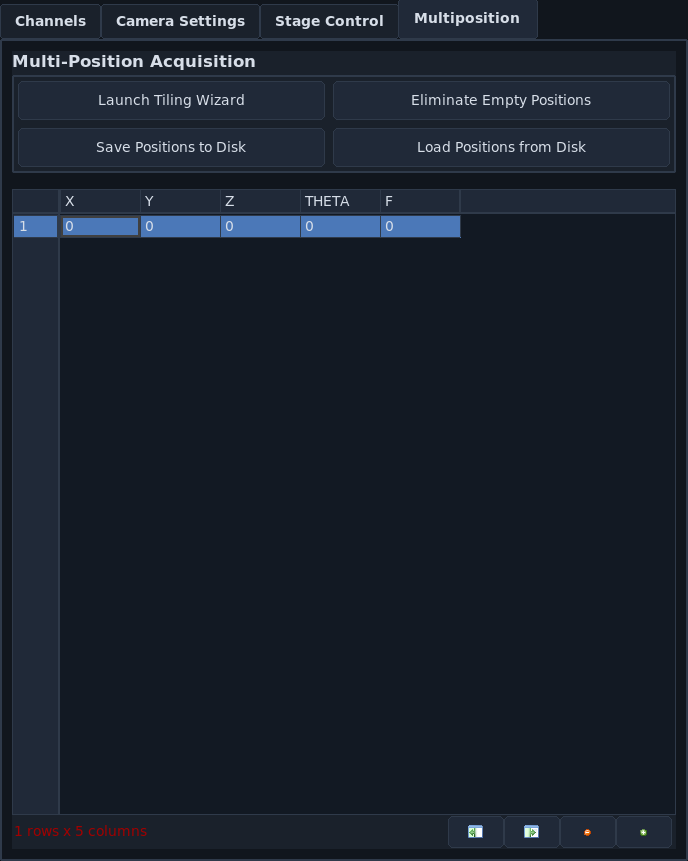
The positions will be populated to the multi-position table. The screenshot below illustrates the current table layout with example positions.
The positions look like the following if saved in a CSV file.